Understanding the Process of Timber Frame Extensions: A Step-by-Step Guide


Timber frame extensions are becoming increasingly popular among homeowners looking to expand their living space. These structures offer a unique blend of aesthetic appeal and structural integrity, making them an excellent choice for many. Understanding the process of building a timber frame extension can help you make informed decisions and ensure a smooth construction experience.
Initial Planning and Design
The first step in creating a timber frame extension is the planning and design phase. This involves assessing your current space, determining your needs, and envisioning how the extension will integrate with your existing home. Engaging with an architect or a design professional can help you create detailed plans that align with your vision and comply with local building regulations.
During this stage, it’s crucial to consider factors such as the extension’s purpose, size, and style. Additionally, you’ll need to think about materials, finishes, and any special features you might want to incorporate.
Securing Permissions and Approvals
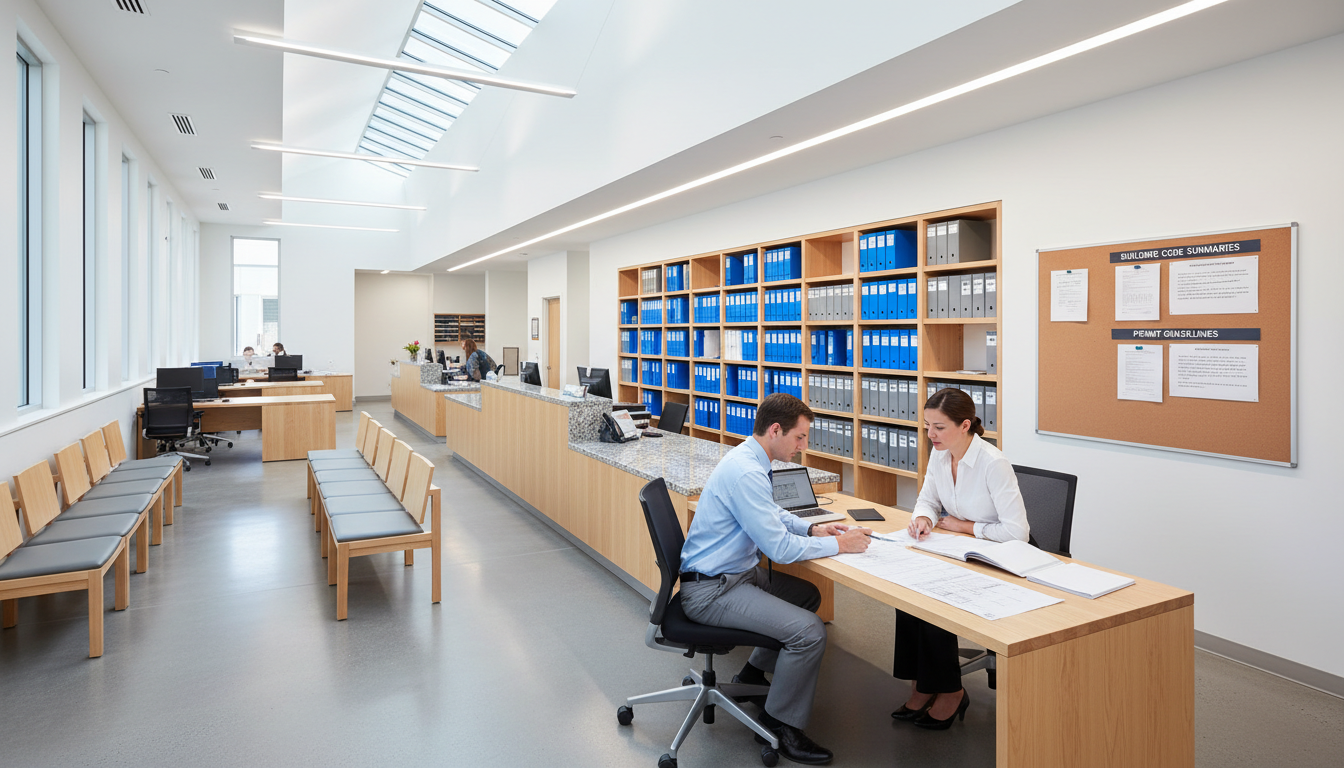
Before construction begins, it’s essential to secure the necessary permissions and approvals. This may include obtaining building permits and ensuring your plans adhere to zoning laws and regulations. Consulting with a local building authority can provide guidance on what is required in your area.
Foundation and Groundwork
Once all permissions are in place, the groundwork begins. This involves preparing the site by clearing the area and laying a foundation. The foundation is a critical element, as it supports the entire structure. A strong, well-laid foundation will ensure the longevity and stability of your timber frame extension.
Depending on the soil type and environmental conditions, different foundation methods may be used, such as concrete slabs or piers. Working with experienced builders is vital to ensure this phase is executed correctly.
Constructing the Timber Frame
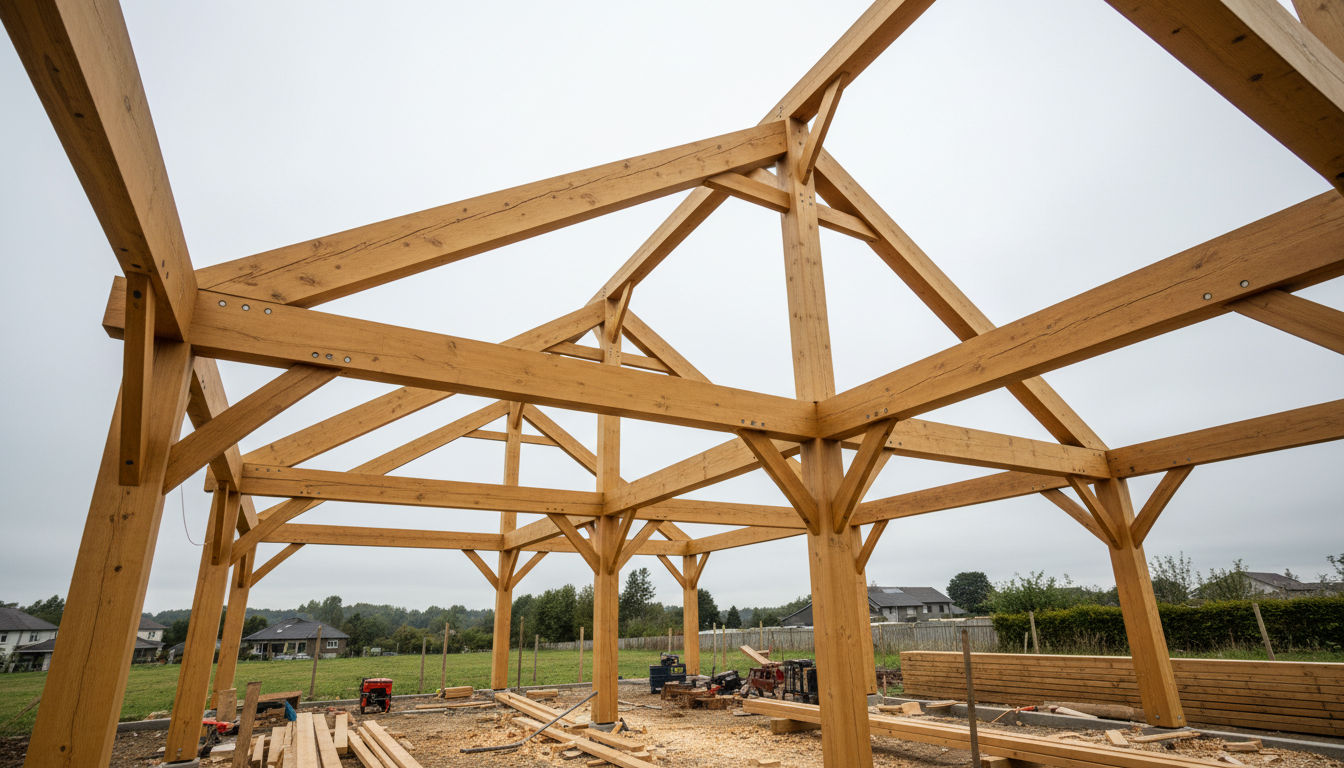
The next step is constructing the timber frame itself. Timber frames are typically prefabricated, which means they are constructed off-site and then assembled on-site. This method allows for precision and can significantly reduce construction time.
Roofing and Cladding
After the timber frame is erected, the next step is to add the roof and cladding. The roofing material should be chosen based on durability, aesthetics, and how well it complements your existing home. Options include tiles, shingles, or metal roofing.
Cladding enhances the appearance of the extension and provides additional protection against the elements. You can choose from various materials, such as wood, brick, or composite panels, depending on your style preference and budget.
Interior Finishing
With the exterior complete, attention turns to the interior. This phase involves installing insulation, drywall, flooring, and any desired fixtures and fittings. The aim is to create a space that is comfortable, functional, and in harmony with the rest of your home.
Final Inspections and Handover
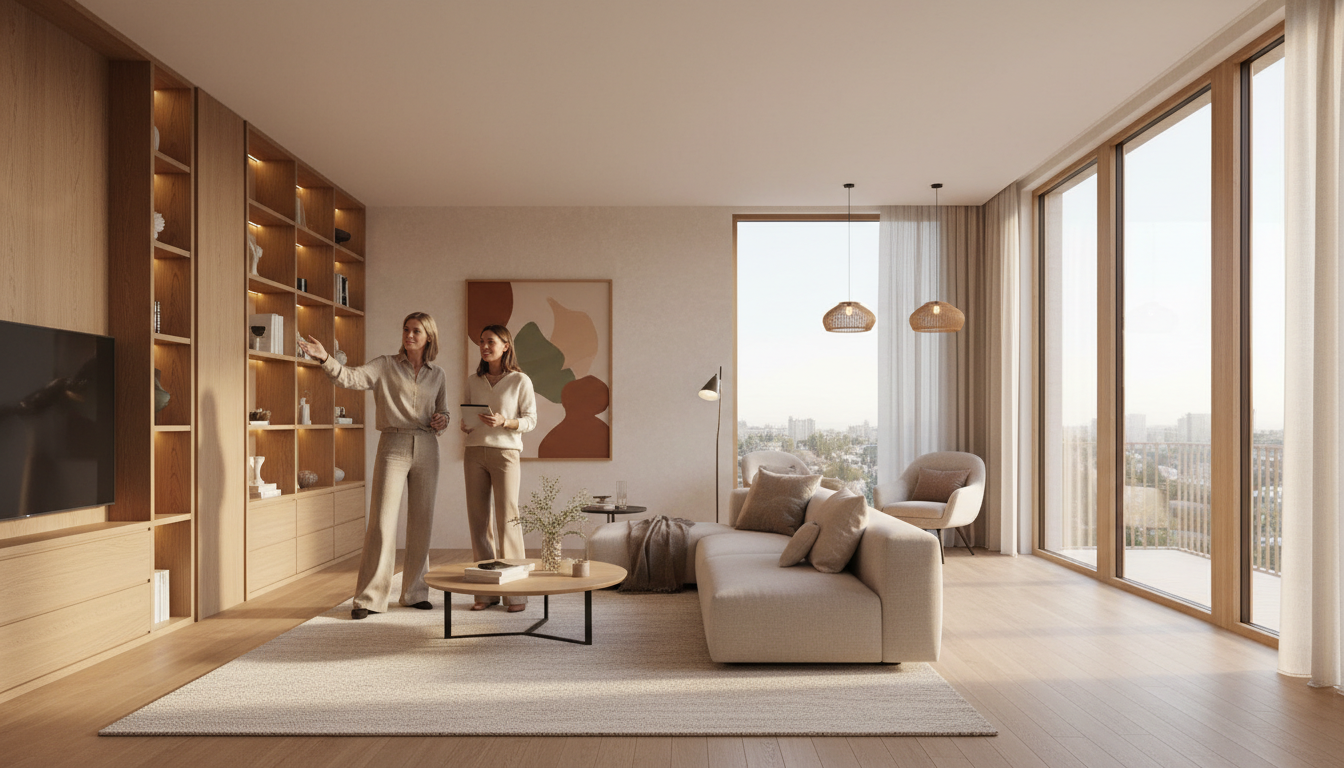
Once construction is complete, a series of final inspections ensure that the extension meets all safety and building standards. It’s essential to address any issues identified during these inspections promptly. Once everything is approved, the space is ready for handover.
Timber frame extensions offer a sustainable and stylish way to enhance your living space. By understanding each step of the process, homeowners can embark on this journey with confidence, resulting in a beautiful and functional addition to their home.